Tuesday, August 25, 2009

Adorable cloth baby shoes

My best friend's baby is due any day now, and we are waiting to find out if it is a boy or a girl... but, if it is a girl she sure will look cute in these little shoes :-)!! I better whip up a boyish pair too, just incase :-)
I used this pattern which was SOOOO great!! Lots of pictures, and super simple to follow!! I think they turned out pretty cute for my first attempt.

Saturday, August 22, 2009

Quilt squares, burp cloths, and a *NEW* foot :-)

One of my latest little crafting projects have been these cute little burp cloths that I made from this tutorial. They are supper easy and turn out really cute :-) I actually used a pack of flannel receiving blankets that I got as a baby gift when my son was born that were un-opened for the fabric.
I just LOVE the soft fuzzy edges
And, these are the quilt squares I have been working on. I can't wait to put this quilt together!! I am still trying to figure out exactly how I want to lay it out...
It is the Moda Arcadia fabric. I really like the patterns and colors. I used the "disappearing 9" method to make the squares. I love how easy it is to get a pretty neat looking block.
OH!! I can't forget this!! My new darning foot!! Now I can try my hand at machine stippling!! I am SO excited!!
Here is one of my practice swatches... It is really fun!!

Monday, August 17, 2009

GIFT EXCHANGE!!!

give-and-receive.html.jpg
Don't you just LOVE getting fun little packages in the mail?? I DO!! If you do too, make sure to sign up for this fun little gift exchange. All the details are on her blog. You have until Monday, August 23rd to sign up!!

Sunday, August 16, 2009

All You Need Is Love... and a Beatles quilt :-)

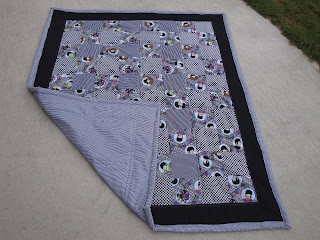
This is what I have been working on lately. I had to go on a little hiatus because my whole family was attacked with a horrible stomach bug...yuck... but thankfully we are all feeling better and I was able to finish this Beatles quit for my son. I actually found this fabric at Wal-Mart on sale for $2.00 a yard. I mixed it in with a few remnants and a flat sheet, and Ta-Da!! Cool new quilt :-)
I actually decided to quilt it on my machine instead of tying it like I usually do. I am so glad that I did!! It really turned out nice.
John Lennon smiling :-)

Saturday, August 8, 2009

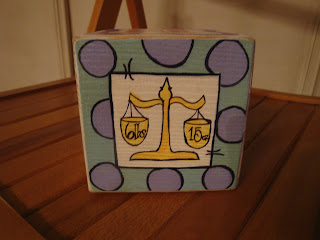
HOW TO... Birth Announcement Block

Materials Needed:
  • 4 inch wooden block ( I got mine at Michael's)
  • Acrylic Paints
  • Paint brushes of various sizes
  • Paint pen or Sharpies
  • Sand paper
  • Modge Podge
  • **Baby Info.** Name, Height, Weight, DOB, Time of birth
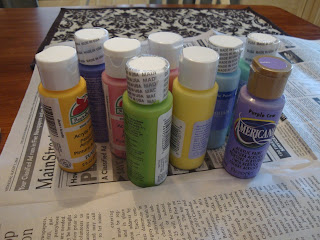
Select your colors before you get started :-)
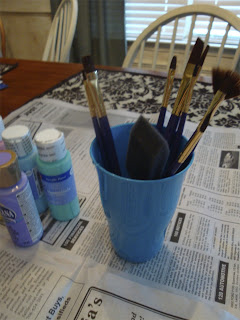
Make sure you have several sizes of brushes
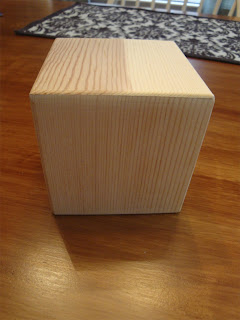
Make sure your block is pre-sanded
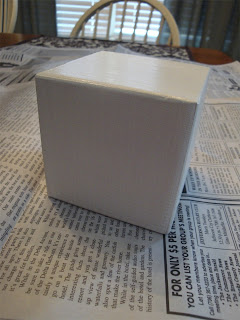
Apply a base coat of white paint... you may need several coats depending on the paint you are using.
Next you will paint about an 1 1/2 inch border around the edge of each side of the block. Leaving the top and bottom of the block blank.
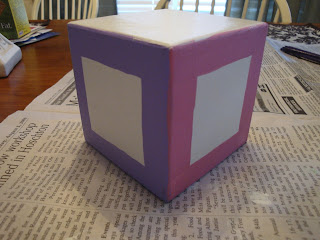
Make sure you paint one of the sides yellow for the ruler side of the block
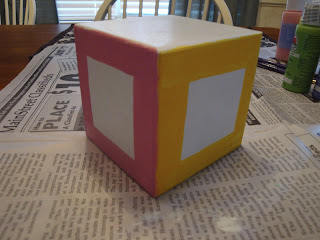
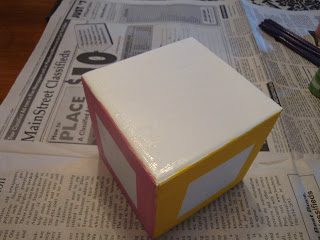
Top is blank (for now)
I freehanded all of my lettering, but you could also use stencils if you are not comfortable painting freehanded. * The black border is done with the paint pen*
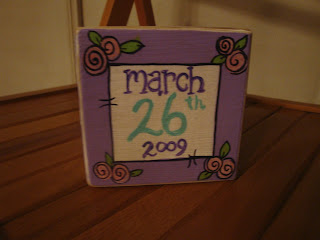
*Date*
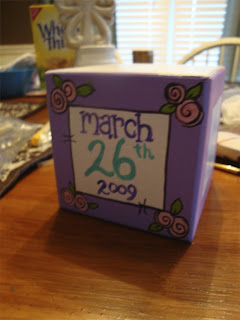
Again, I used the paint pen to draw the ruler border around the block.
*Length*
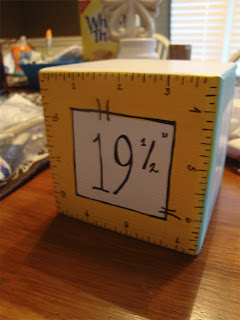
You can see here how I painted the design first, then went back in with the paint pen and outlined it and added the details.
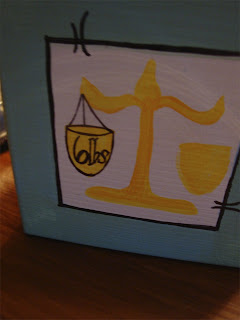
*Weight*
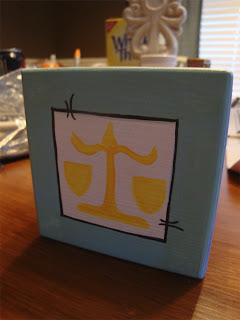
Here I used a fine point Sharpie to write the weight because it needs to be pretty small.
*Time*
For the clock I traced the bottom of a child's cup to make sure I had a good circle
On the top of the block I painted to name and a decorative border.
*Name*
When I was finished painting I took the sandpaper and distressed the edges of the block and I also added a antiquing glaze over the whole block just to add some character. Lastly I sealed the paint with several layers of Modge Podge.
** I also glued a square of Felt to the bottom of the block so that it won't scratch your furniture :-) !!
** I hope this was helpful for those of you who were interested in how I made these** Feel free to message me if you have any more questions...

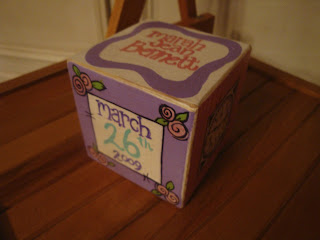
Birth Announcement Block

This is the block I finished today for a friend of mine. I love the girly colors!

Monday, August 3, 2009

Up-cycled Formula Can Tutorial

From THIS
TO THIS
FIRST--- PEAL AWAY THE FORMULA LABEL
SECOND--- CHOOSE A PRETTY PAPER SELECTION TO BE GLUED TO YOUR CAN AND CUT TO PROPER SIZE USING EITHER YOUR SCISSORS OR PAPER CUTTER
THIRD--- DECORATE YOUR LID TO COVER THE PLASTIC. I CHOOSE TO USE PAPER AND SOME FLUFFY YARN AND HOT GLUED IT TO THE LID :-)
FOURTH--- HOT GLUE OR MODGE PODGE YOUR PAPER TO THE CAN
FIFTH--- DECORATE WITH ANY OTHER EMBELLISHMENTS (RIBBONS, LETTERS, FLOWERS, STICKERS, ETC.)
LASTLY--- ADMIRE YOU CUTE NEW STORAGE TIN ;-)