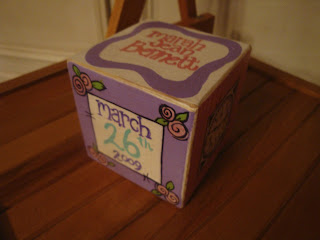
Materials Needed:
- 4 inch wooden block ( I got mine at Michael's)
- Acrylic Paints
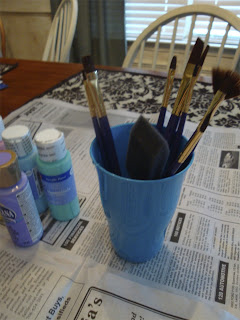
- Paint brushes of various sizes
- Paint pen or Sharpies
- Sand paper
- Modge Podge
- **Baby Info.** Name, Height, Weight, DOB, Time of birth
Select your colors before you get started :-)
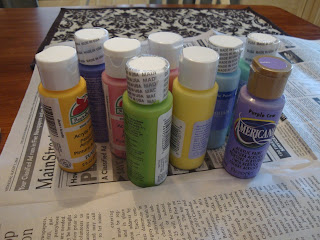
Make sure you have several sizes of brushes
Make sure your block is pre-sanded
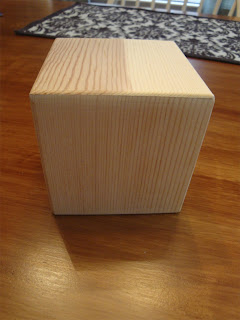
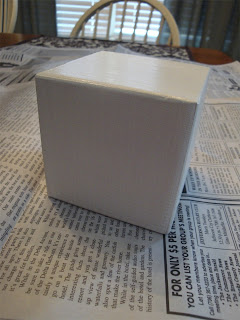
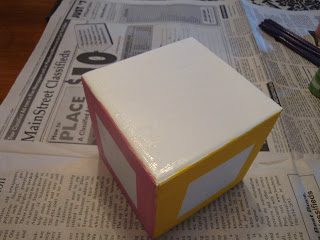
Apply a base coat of white paint... you may need several coats depending on the paint you are using.
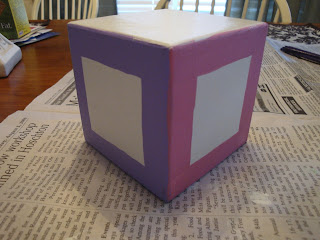
Next you will paint about an 1 1/2 inch border around the edge of each side of the block. Leaving the top and bottom of the block blank.
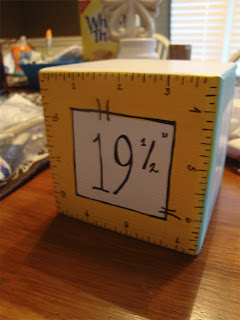
Make sure you paint one of the sides yellow for the ruler side of the block
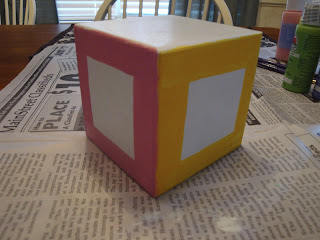
Top is blank (for now)
I freehanded all of my lettering, but you could also use stencils if you are not comfortable painting freehanded. * The black border is done with the paint pen*
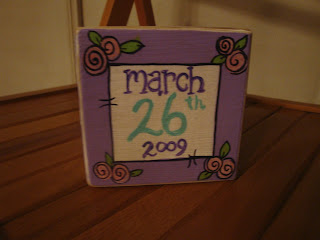
*Date*
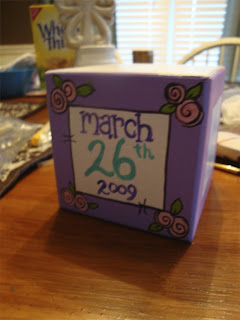
Again, I used the paint pen to draw the ruler border around the block.
*Length*
You can see here how I painted the design first, then went back in with the paint pen and outlined it and added the details.
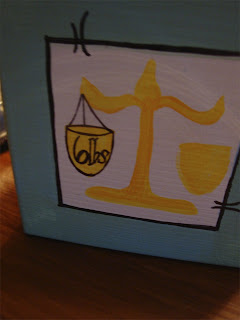
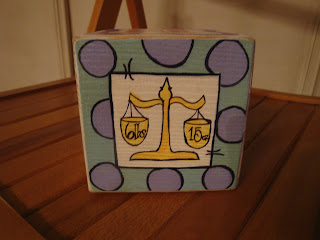
*Weight*
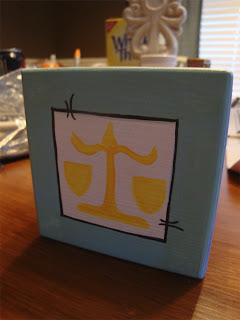
Here I used a fine point Sharpie to write the weight because it needs to be pretty small.
*Time*
For the clock I traced the bottom of a child's cup to make sure I had a good circle
*Name*
 When I was finished painting I took the sandpaper and distressed the edges of the block and I also added a antiquing glaze over the whole block just to add some character. Lastly I sealed the paint with several layers of Modge Podge.
 ** I also glued a square of Felt to the bottom of the block so that it won't scratch your furniture :-) !!
** I hope this was helpful for those of you who were interested in how I made these** Feel free to message me if you have any more questions...





Hi, Amie! Just noticed that you are a new follower to my blog, and I wanted to send a big thanks your way! I love getting to know new people! Thanks once again! (This block is a darling idea, by the way!)
ReplyDeleteShelli
What a cute idea! That would be a fun thing for a nursery. Isn't crafting fun??
ReplyDeleteFirst I'd like to say that your tutorial is so nice for those wanting to make those blocks! You did a great job explaining how to make it.
ReplyDeleteSecond, for the uncrafty person that just enjoys looking at your creations, I say, "Puh-leeez." I'd rather write a check and have YOU make it. I can't imagine how frustrated I'd be! =)
Hey, we 3 need to go paint pottery. I've got a piece I broke that I'd like to replicate. I'll warn, however, that last time the little piece took me a couple hours. I figure you 2 can make a couple items. =)